
If you’re planning a trip to Japan, know that the process is a commitment. We’ve gone all over the world and back again, even traveling full-time for two years with our young children.
Even so, planning a trip to Japan sometimes felt like a Herculean task. There are so many moving parts, rules and barriers that it was easy to be overwhelmed at times. After putting together what I’d deem a very successful first visit, I’ve put together some of my best Japan travel tips to help you plan the trip of a lifetime!
I promise, you won’t want to miss these tips for traveling to Japan – they’ll help you make the most of your time with the fewest hassles.
1. Plan as far in advance as you can

As frequent readers of this website know, we’re avid travelers and have been all over the world – sometimes hopping countries on just a few days’ notice.
Japan isn’t a place where I’d want to do that. Ever.
The most important of my tips for Japan travel is to give yourself as much lead time as possible.
We were shocked at just how important it is to plan a trip to Japan well in advance. In my experience particularly if you plan to visit during a peak time (roughly March through May and, to a lesser extent, September and October) you’ll be happiest if you start arranging your hotels 4-6 months in advance. Even 4 months before our March trip, a few small or specialty hotels were already sold out. When I looked to shift our itinerary 3 months in advance, our hotel in Tokyo was double the price I had paid.
But it isn’t just about booking your flights and hotels. There are so many cool attractions in Japan that require booking at least a month in advance. It’s not just the obvious ones! Everything from TeamLab Tokyo (which we got) to Pokemon Cafe (which we didn’t) sells out. Heck, even the wonderful onsen we visited had limited availability for private rooms a month in advance.
Unfortunately the need to lock down times and places so far in advance can make Japan travel planning very tricky. Give yourself plenty of time and try not to get overwhelmed – take it one area at a time and don’t be too disappointed if you can’t get into one specific attraction or hotel. Know that you’ll still have an incredible trip and you’ll be starting to consider a return visit while you’re still there!
Pro tip: When you’re planning, don’t be afraid to book through Klook! It’s one of the most popular sites for booking activities throughout Asia. It’s easy to use and has a great reputation. We used it many, many times without a hitch.
2. Consider the overall structure of your itinerary
Obviously the first thing to nail down when you’re planning a trip to Japan is the basic framework of your trip: your flights and roughly which regions you’ll visit when. There are a few ways to do it, which I’ll go over here. Here are some ideas for family-friendly Japan itineraries.
If you’re coming from North America, chances are you’ll fly into one of Japan’s three main international airports: Narita (NRT), Haneda (HND) or Kansai (KIX). West coasters may have the luxury of choosing where they’ll go, while travelers coming from the midwest and east coast will probably have to take what they can get based on how their connections work out.
Both Narita and Haneda are in greater Tokyo, but Haneda is much much more convenient: our taxi ride was an easy 20 minutes, which we appreciated after spending most of a day traveling. Narita would have taken over an hour and been more expensive for our family of four.
The other airport option is Kansai, which is about an hour from downtown Osaka by train. A west coast family member recently chose an open-jaw itinerary that arrived in Osaka and departed from Haneda. That was a great option as it avoided an extra few hours of train travel – and depending on your itinerary it could allow you to choose a shorter duration Japan Rail Pass (but more on that later). When we considered a similar itinerary, unfortunately the connections weren’t as favorable and the price was a lot higher but be sure to evaluate options for your airport and dates.
The second half of structuring your itinerary is figuring out the order in which you want to visit Japan’s wonderful and diverse regions. On a first visit, most tourists split their time between Tokyo, Kyoto/Osaka and Hiroshima. It’s worth considering the order of your trip, especially if you end up with a roundtrip ticket to Tokyo (as most visitors do). If you’re lucky enough to have a KIX flight on one leg, your itinerary will mostly build itself.
There are two schools of thought on how to structure your Japan itinerary. This excellent book recommends exchanging your Japan Rail Pass voucher at the airport when you arrive and immediately hopping on a bullet train for Hiroshima as one of the top tips for travelling in Japan. In theory you could also take a short domestic flight to Hiroshima, as it’s less than 2 hours and sometimes only $50 per ticket. You’ll then slowly make your way back up to Tokyo to finish out your trip. The benefits of this option are that you’ll be able to sleep for much of the 6 hour travel time (since most visitors are exhausted after crossing so many time zones) and you’ll also start off in the quieter parts of the country before tackling the hustle and bustle of Tokyo.
We took a different approach and it worked out fine as well. Our trip started with 5 nights in Tokyo, which was just a busy as advertised but allowed us to settle in and feel as rested as possible when we were clocking 10 miles on foot each day. Then once we had our bearings we went all the way to Hiroshima and Miyajima Island. Our final stay was in Kyoto, halfway between Tokyo and Hiroshima. With only 10 nights in Japan, our stays in Miyajima and Kyoto was shorter and might have been harder with the kids right when we’d gotten off the plane.
I’d probably avoid closing out your trip in Hiroshima. The security line when we returned to Haneda was one of the longest I’ve ever waited in and you would likely have to build in three hours to check in and get through security, whether you’re taking the 5-6 hour train ride or the 2 hour domestic flight (remembering to allow 60 minutes to get to the Hiroshima airport from downtown or 2.5 hours from Miyajima Island and 2 hours for domestic check in). Going through all of that followed by an incredibly long international flight is just too brutal.
3. Always factor transportation into your advance planning
Speaking of transportation, there’s a lot of it in Japan and it should factor into your planning from the beginning in terms of both time and money.
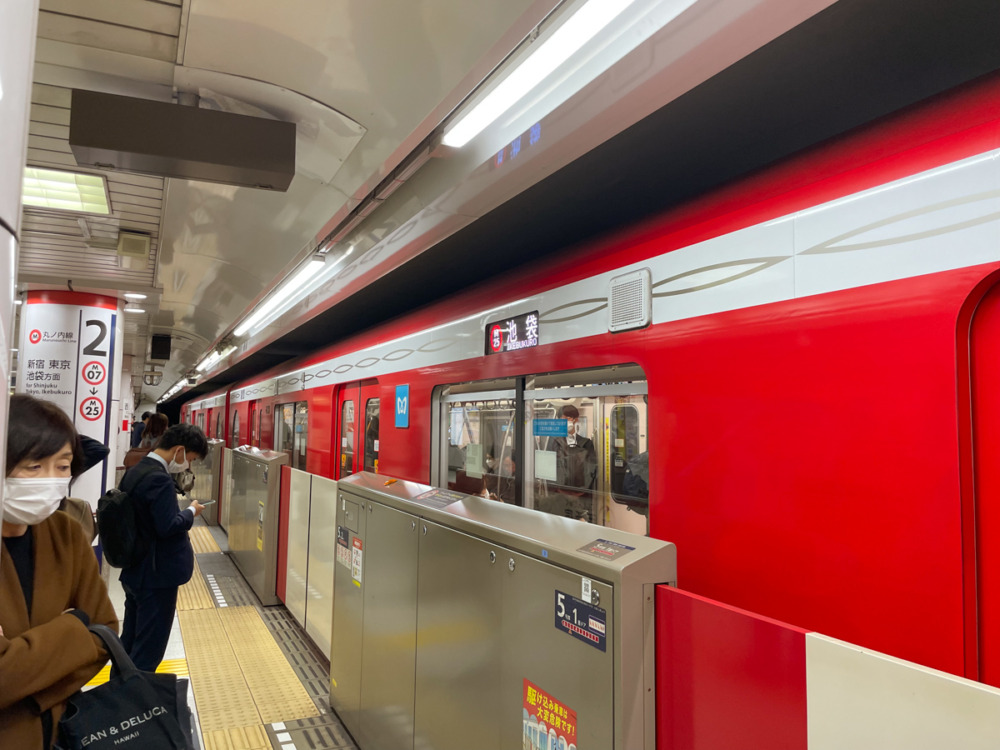
Japan is famous for its shinkansen bullet trains, but in reality the nation’s transportation network is far more vast than most people realize until they visit. Japan has more than 30,000 km of rail, which would get your 3/4 of the way around the globe if it was all laid end-to-end. Those rails are part of everything from the bullet train lines that travel at 200 mph to regional railways to local subways.
Even within a single municipality, there can be multiple overlapping transit lines run by the government, private companies or public-private partnerships. As a visitor, it can sometimes be confusing or even frustrating.
You’ll want to download the excellent JapanTravel app by NAVITIME to your phone. You can also use it on your computer though I found that it didn’t work as well. Where this app is a standout is that it allows you to select which transit passes you have (or are considering purchasing) and shows you which routes are included and which ones aren’t.
Before we talk about money, passes and more I’ll just share a quick note about the time aspect of taking trains in Japan. Overall they’re extremely efficient and get you from A to B. But Japan is home to 46 of the 50 busiest train stations in the world, and when you first arrive prepare to be a little lost. When you’re taking local trains, I recommend allowing plenty of buffer time to what the directions tell you. A “20 minute trip” could easily take you 30 minutes if you struggle to find the platform for your connection or figure out which exit the walking portion of your directions indicate. It’s not your fault, but plan accordingly if you have time-specific activities.
The first piece to figure out – at least a month before your trip but not more than 90 days – is whether or not a Japan Rail Pass is right for you. This pass gives you access to nearly every Japan Rail operated line in the country for a specific number of consecutive days. If you’ll be flitting around to different regions in a fairly short period of time it can be a great savings! You won’t typically need it for your entire itinerary. For example, we made sure that we only needed ours for 7 of our 10 days.
To give you a sense of our our calculations worked, on the second day of our JR Pass we traveled from Tokyo to Hiroshima. On the final day of our pass we traveled from Kyoto to Tokyo. Those two legs alone would have cost us more than the 7 day pass, and of course we used it many times in between.
The very fastest bullet trains – which cut an hour off of the transit between Tokyo and Hiroshima – aren’t currently included with the Japan Rail Pass but they will be when the rail pass price increases in early 2024. That price increase is going to hurt and you’ll really have to evaluate whether or not the pass makes sense for you if you’re visiting beyond 3/31/2024 (the initial announcement indicated October 2023, but it seems to have been pushed back). Of course it’s also possible that fares for individual tickets will rise as well.

Fortunately there’s no need to worry about spending for the fancy “Green Car” service. The regular class is plenty comfortable and very spacious, with reclining seats and tray tables for your bento box. And families rejoice: children 6-11 can get half-price rail passes! Each adult can also take up to two children ages 1-5 on their laps (though only one is realistic) and babies travel free.
Things get much more complicated when you’re talking about local and regional transportation.
If you’re traveling kid-free or your kids are 0-5, your simplest option is to buy an IC card. These are essentially reloadable debit cards that can be used on nearly every transportation system in areas where tourists go in Japan, plus you’ll use them for cashless payment at lots of businesses and kiosks in the country. To make your life easy, once you get your IC card add it to your Apple Wallet or Google Pay app. You can even top up your IC card directly from your phone, and Apple Watch users can scan into trains with their wrists. With an IC card you won’t have to buy individual tickets for train rides, though if you’re taking lots of trains you may end up spending more than if you purchased a train pass – more details on those below.
Unfortunately for families with kids over 6, an IC card isn’t quite so simple. First, for your children to receive discounted child fares when they tap in to a train they have to be on a child IC card. You’ll need to bring the kid and their passport to the JR East office to get it (this is the same place where you’ll exchange your JR Pass voucher for actual tickets). Second, unless they have their own cell phone they won’t be able to use the digital option and will need to carry the physical card and top it up at an actual kiosk.
Given the different fares, shopping opportunities and different reloading options, you may wind up with times when most of the family is topped up and ready to go but a kiddo’s card needs money unexpectedly at the turnstile. The upside is the most of the time you can board basically any train in the country with a simple tap and no worrying about which train line you’re taking. Some families even load their kids’ souvenir shopping money on to the IC card and empower them to stay within their budgets. That’s a great hack for family travel in Japan!
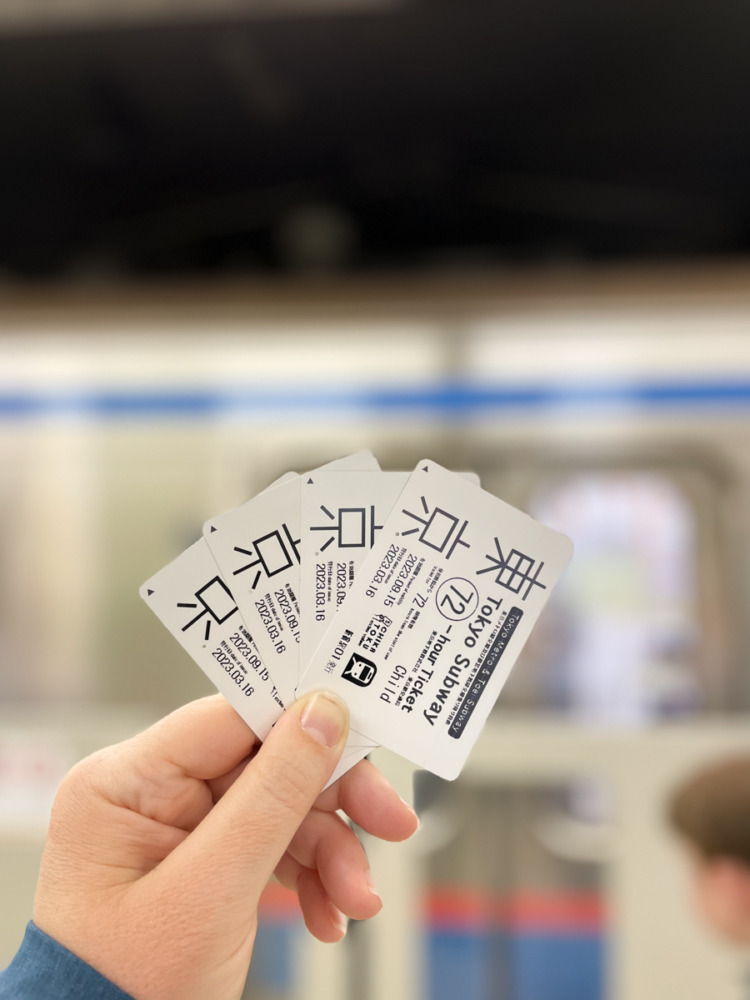
If dealing with IC cards sounds like a headache or you think you’ll ride local trains a lot, there are some additional train passes worth considering. Our family got excellent value out of the 72 hour Tokyo subway pass. It covered nearly every non-JR train we needed to take around the city, including the one conveniently located underneath our hotel. The cost of that pass just can’t be beat!
As you go in the Kansai region (encompassing Kyoto, Osaka, Nara and more) you can consider the Kansai Thru Pass for 2 or 3 days (and kids at half price). It covers nearly all non-JR rail lines plus bus lines and can be used on non-consecutive days. If you have an active Japan Rail pass you can use that for select rides in the city as well, but JR lines aren’t as ubiquitous as elsewhere.
Whether or not a pass makes sense for you will depend on how much you plan to use public transportation versus taxis and Ubers. That said, there’s also the convenience factor of nearly every trip being covered without having to stop at a ticket machine every time you want to board. You could also consider separate passes for Keihan, Hankyu and buses.

There were a few times when we felt like a taxi was the best option, for instance when we were heading to the train station with all of our luggage in the pouring rain on our last morning in Japan. I was so glad that we brought folding car seats for our kids to ride safely – I consider them a “must” to travel Japan with a family!

Want to organize your plans?
Grab our fully-customizable Japan digital travel planner!
Find out more4. Get comfortable with Google Translate
The most useful app for Japan is definitely Google Translate. Unless you’re fluent in Japanese (reading and speaking) you’ll use it all day, every day. If you only take away two traveling in Japan tips, it should be this one along with planning as early as possible.
We encountered so many people in Japan who were eager to help us in our travels but virtually none of them spoke English. And that’s understandable, because it’s their country and Japanese is the local language. Thankfully Google Translate was there to bridge the divide. We had plenty of “conversations” that consisted of us typing a few sentences into our app and a Japanese person typing their reply into their own Google Translate.
The other piece of Google Translate that’s indispensable is translating text in images, whether it’s a sign on a storefront or a Japanese-only menu. Particularly if you have any dietary restrictions, you’ll want to take advantage of this.
I recommend that you download the Japanese dictionary within your Google app before you go. When you go to the translation module, click “Detect language” and find Japanese on the list. Then click the download icon to the right. Your translations will be faster when you’re on the ground and you won’t have to worry about using mobile data.
5. Bring power backups for your phone

If you’re anything like us, you’ll use your phone all day long in Japan. Directions, photos, translations and more… it all takes a toll.
We love this portable charger because it plugs directly into our iPhones without a cord and still fits in our pockets. There’s an Android-friendly version as well. We brought one with us, but only because I forgot the second one charging at home when I packed! There were plenty of days we wished we had the second battery pack. It tops my list of what to bring to Japan.
On our smarter days, we brought a USB charging cable and wall plug with us. Plenty of restaurants in Japan have outlets near the tables so we were able to charge while we ate.
Speaking of plugs, Japan uses the same style outlets as the USA. Even so, I ended up bringing this gadget because it saved tons of space and energy on USB wall adapters!
Other things to put in your day pack for Japan: a plastic bag to carry around your trash, a small travel washcloth and hand sanitizer.
6. Pack strategically
I have plenty more to say about what to pack for Japan specifically, but as you’re planning your trip it’s helpful to have an overall strategy that takes your itinerary into account.
First, packing light is always a good thing. I love the travel capsule wardrobe strategy for maximizing my outfits while minimizing my luggage.
Second, if you plan to take trains around the country (which nearly everyone does) know that there’s limited space for huge suitcases in each compartment. Carry-on suitcases and travel backpacks will fit on the overhead racks without issue.
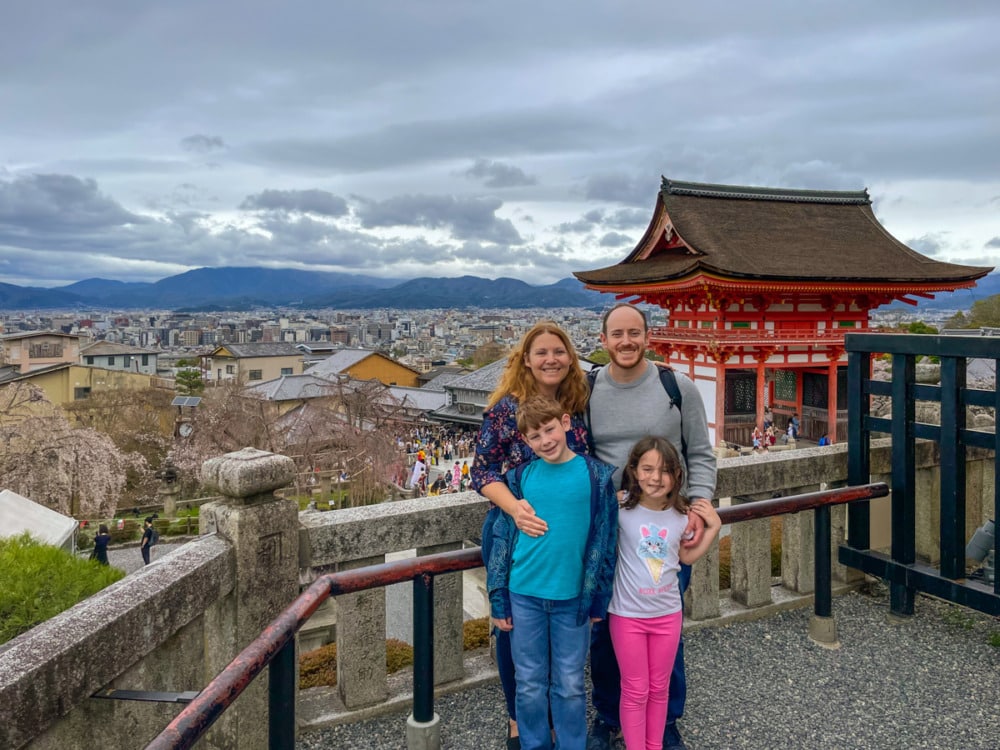
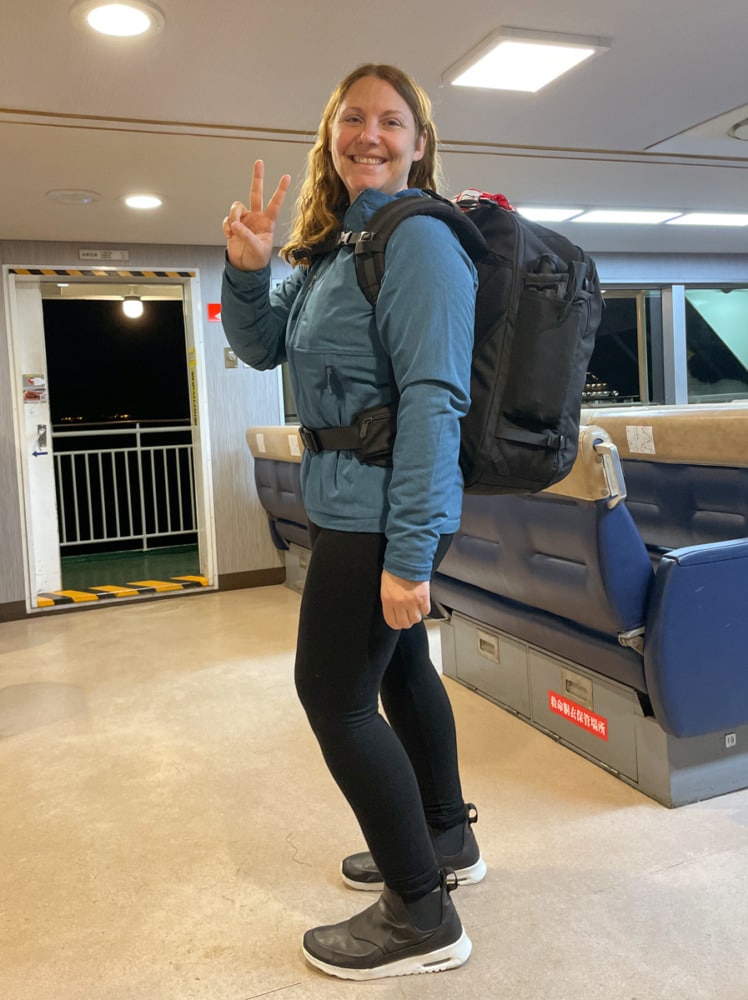
For our family of four, we traveled with two carry-on suitcases, one 35L travel backpack (which I’m wearing above) and our kids backpacks. We also tucked this awesome packable daypack into our luggage to use on the ground. Since we were sharing luggage, we made liberal use of packing cubes to organize everyone’s stuff. Japan isn’t a country that requires a lot of specialized equipment and we made sure to book one hotel with laundry, so packing light was easy!
Now for the strategy part… our itinerary included a very busy 48 hour stretch that saw us taking trains, buses, boats and taxis as we went all the way down to Miyajima Island and doubled back to Kyoto with a half-day stop in Osaka. It was a whirlwind!
But thanks to the excellent Ta-Q-Bin luggage forwarding service run by Yamato, we didn’t have to lug all of our stuff with us. Ta-Q-Bin is beloved by locals and visitors alike, as it reliably and affordably moves your items around the country. The service is available via 7-11 and many hotels. We arranged it the night before with the concierge at our Tokyo hotel. For just $50 we sent both of our suitcases and a supplied cardboard box containing the kids’ backpacks to Kyoto, and we just brought our 35L backpack and daypack for two nights on Miyajima Island. Without a hitch, our items were waiting in our hotel room in Kyoto when we got there!
Having the freedom to move through busy parts of your itinerary unencumbered is amazing. Sure there are luggage lockers in many places (the one time I tried to snag one they were full) but we didn’t always go and come back the same way.
Some visitors also use Ta-Q-Bin on the day they arrive in Japan. While the service generally calls for about 48 hours of lead time, Yamato offers same-day service within Tokyo from the airports if your flight comes in early enough. That means you can drop off your luggage when you arrive and immediately go sightseeing without stopping at your hotel first!
7. Engage with Japanese people
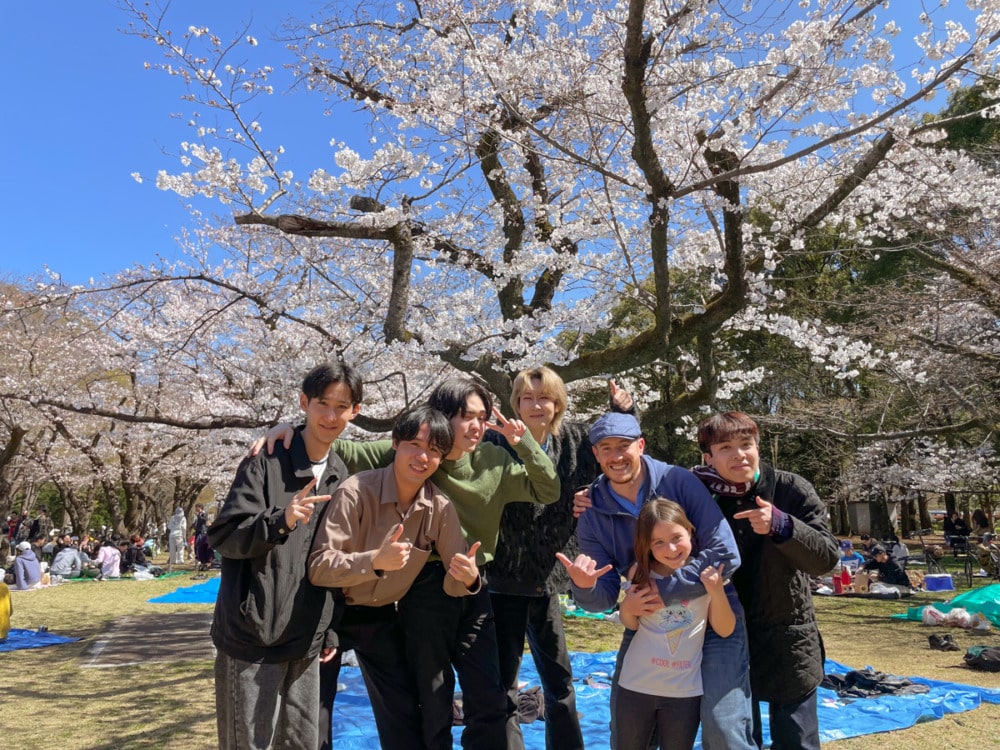
While it’s true that Japanese people are generally quiet and respectful in public, don’t let that scare you from interacting. Overall we found warmth, generosity and an overwhelming desire to help us as tourists – all of this despite the understandable language barrier.
We encountered kindnesses of all sizes, from the businessman who went ten minutes out of his way to help us find a hidden train station to the young people who saw us picnicking and offered us a spare tarp to sit on. Even though there are differences in how we approach public life, plenty of Japanese people we met were happy to chat about their favorite restaurants, the sports teams they support and all of the other normal aspects of daily life.
Private or small-group tours are a great way to forge those connections, even for the DIY traveler. You’ll have an opportunity to ask all of your burning questions about life in Japan and hear an insider’s perspective from someone who is eager to be a bridge.
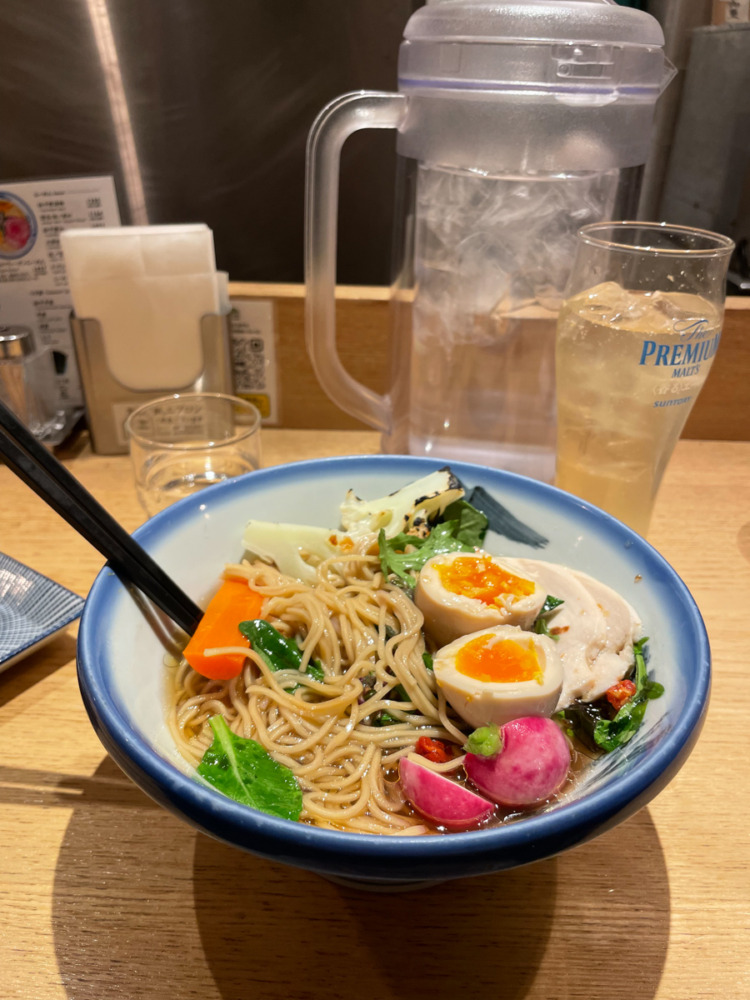
8. Don’t be afraid of unfamiliar (or inexpensive!) foods

I’m not afraid to say that Japan’s food scene is incredible. Whether you’re craving fresh, creative, comforting or affordable you’ll find it in spades. But the most important thing to bring when you dine (other than perhaps a reservation) is an open mind.
You’ll undoubtedly encounter plenty of foods in Japan that you never imagined, from cabbage-laden okonomiyaki to octopus-filled takoyakio to sakura mochi wrapped in salt-pickled leaves for dessert. As long as they’re within any particular dietary restrictions you have, give it all a shot!
On the note of dietary restrictions, be sure to have your Google Translate app ready at restaurants if you’re particular about what you’re eating. It can be tough.
Pro tip: If you’re looking for pork-free ramen or vegan ramen in Tokyo, don’t miss the rainbow ramen at Afuri. There are locations throughout the city.
By the same token, don’t discriminate against affordable food in Japan. There are plenty of solid options where you can get yakitori, sushi or fried chicken for just a few dollars and they’re absolutely delicious. Many Japanese people grab sandwiches or other simple lunch foods at convenience stores like 7-11 or Lawson’s – these are perfect to bring along for a lunch picnic in one of the thousands of beautiful parks you’ll stumble across.
I’ll be honest and say that we had one of our most filling and satisfying breakfasts at Denny’s of all places – but it was delicious chicken and rice porridge for the adults and broiled salmon with rice for the kids. You could eat for $15-20 per day and really enjoy a huge range of Japanese food!
9. Plan some unique activities
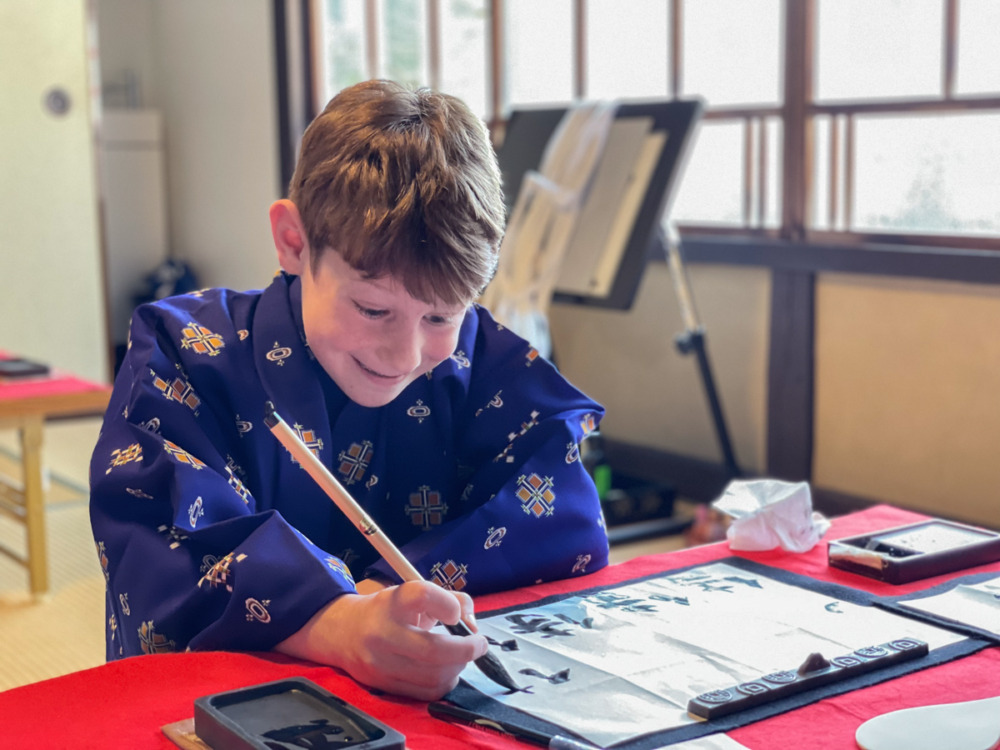
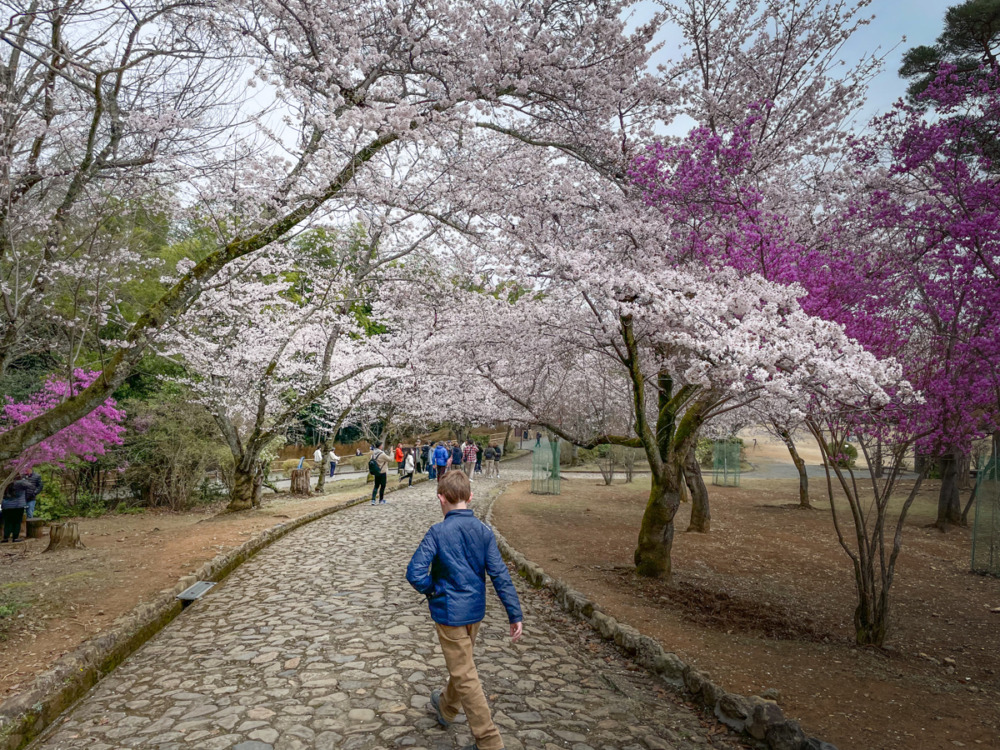
With the ever-increasing costs of flights and hotels, it’s tempting to try to save on other parts of your trip to Japan. There are plenty of free things to do in Japan, from visiting all of the unique temples and shrines to searching out your favorite garden.
But it would be a shame to miss out on some of the more unique things to do in Japan that you have to pay for. Check out some of these great only-in-Japan experiences that we loved:
- Take an in-home cooking class
- Dress in a kimono and participate in a traditional tea ceremony
- Attend a sumo tournament
- Stay in a traditional ryokan where you can enjoy everything from sleeping on futons to soaking in an onsen to dining on a local gourmet breakfast
Of course there are a million other things you can do in Japan! One fact is certain: no matter where you go or what you, you’ll walk away anticipating your next visit.
Planning your trip to Japan
I hope these travel tips for Japan have give you the confidence to plan your own adventure!
Ready to dive in? Don’t miss these helpful resources for planning your own Japan trip!
- Buy your Japan Rail Pass
- Best Things to do in Japan With Kids: A Kid’s Take
- Essential Japan Itinerary: 10 Days of Family-Friendly Travel
- What to Pack for Japan in Spring (and What to Leave at Home)
- Things to do in Tokyo With Kids: Itinerary for 4 Days of Old and New
- The Best Hotels in Tokyo for Families (and How to Choose Yours)
- Visiting Kyoto With Kids: 2+ Day Itinerary + Must-Read Travel Tips
- Best Family Hotels in Kyoto
- Awesome Pokémon Things to do in Japan
- Visiting the A-Bomb Sites in Hiroshima with Kids
- 10 Japan Cultural Activities & Attractions For Your Bucket List